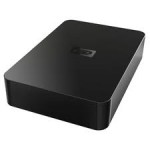
Recently I decide to add more space to my server. For some reasons, the internal hard drives are always more expensive than the external one, even the hard drives are exact the same thing. So I decide to buy an external hard drives first, and disassemble the case and take the hard drive out. I guess Western Digital doesn’t want you to do it, so there is no easy way to open the case. In fact, it is pretty easy to take out the hard drive without breaking the case. And I am going to show you how to open the Western Digital Elements hard drive case. The whole process should take no more than 5 minutes.
Open a Western Digital Elements Hard Drive Case:
Step 1 – Get the Tools Ready
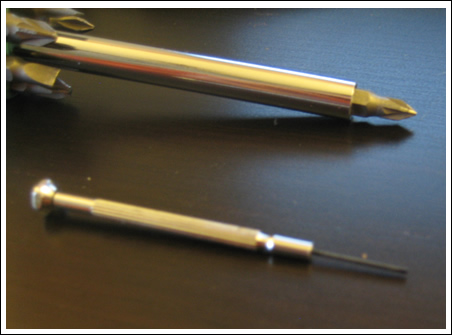
You don’t need any fancy tool to get the job done. Simply use a precision screw driver such as 1/32″ flat and a regular Philip screw driver (PZ1) are enough.
Open a Western Digital Elements Hard Drive Case:
Step 2 – Knowing the Plan
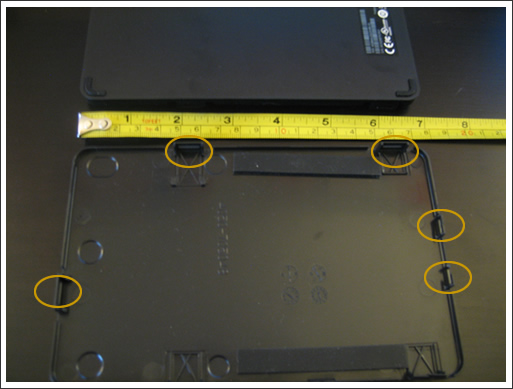
Since Western Digital uses a self-snapping cover to snap on the case, it is good to know where are these clips.
Open a Western Digital Elements Hard Drive Case:
Step 3 – Open the Case
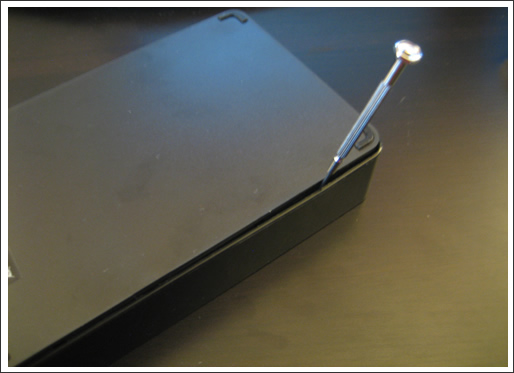
After knowing the locations of these clips, simply use a screw driver to open the case carefully on these locations.
Open a Western Digital Elements Hard Drive Case:
Step 4 – Almost Done
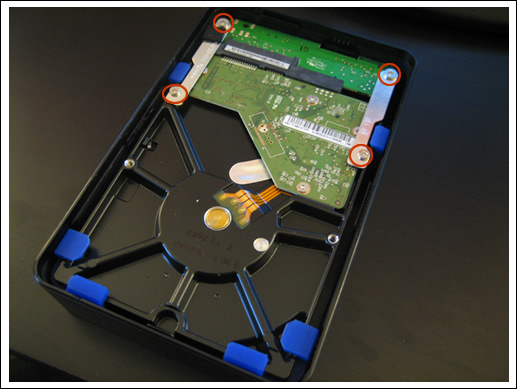
After removing the cover, you will see something like this. Unscrew the 4 circled screws with the Phillip screw driver and take out the hard drive very carefully.
Open a Western Digital Elements Hard Drive Case:
Step 5 – Remove the Connectors and Protections
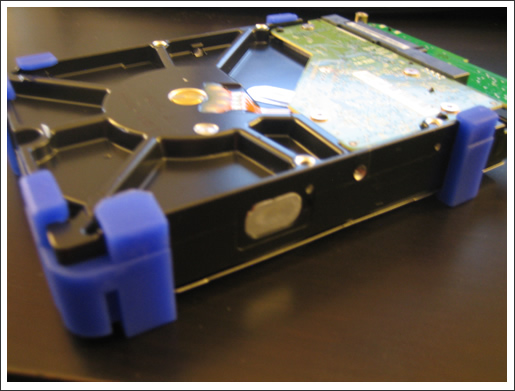
We are almost there. All you need to do is to remove the blue protections and the circuit board.
Open a Western Digital Elements Hard Drive Case:
Step 6 – Completed!
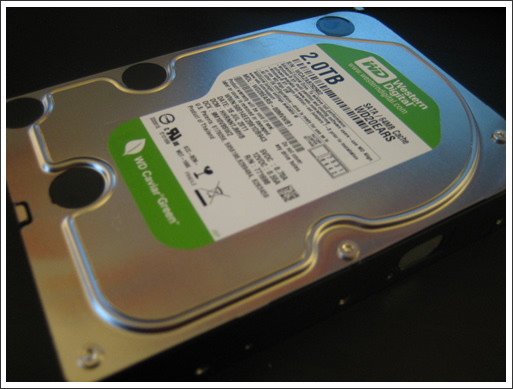
Now the hard drive is ready. Simply snap it into your desktop and it is ready to go!
Open a Western Digital Elements Hard Drive Case:
The Adapter
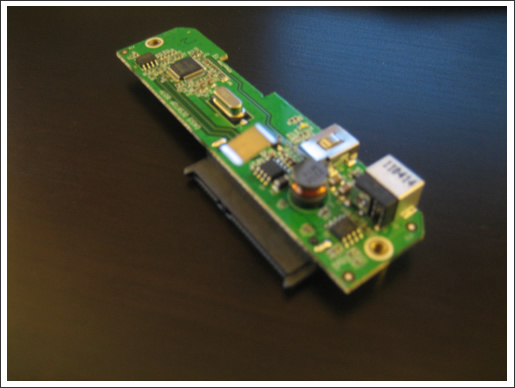
Now you have an extra USB-SATA adapter available. You can simply build you own Lego SATA enclosure with it. However, keep in mind that it only works with Western Digital hard drives. If you plug in a non-Western Digital hard driver such as Seagate, it won’t recognize it at all.
Updated on June 25, 2023
WD is doing something weird to their hard drives since 8TB. You can’t directly plug the WD hardrive to your power supply. There are three methods:
1.) Tape or strip out the connector on the power port to disable the 3.3V pin. Google: “How to disable the 3.3v pin on Western Digital USB White Label Drives”. Personally I think this is a bit unreliable (if you tape to cover the connector) or risky (if you strip out the connector)
2.) Use a “SATA to PATA power converter” and “PATA to SATA power converter”, i.e., Power supply -> SATA to PATA power converter -> PATA to SATA power converter -> Hard Drive. You can find them on Amazon.
3.) If you use server grade components, such as Dell PowerEdge servers, typically it comes with a hard drive bay, i.e., it comes with a hard drive enclosure and you need to slide your hard drives into the big box. The big box contains everything including the data and power supply. Based on my experience, it works great with the new WD hard drives.
4.) Get a power supply that work with WD hard drive. Some people say Consair works with the WD hard drive. I have exact the same model but I can’t get it work.
Have fun.
–Derrick
Our sponsors:
